Parfois appelé à tort thé rouge, le rooibos n'a rien à voir avec le théier. Le thé séché est fabriqué à partir d'un buisson rouge africain qui pousse exclusivement dans une région d'Afrique… La suite ici…
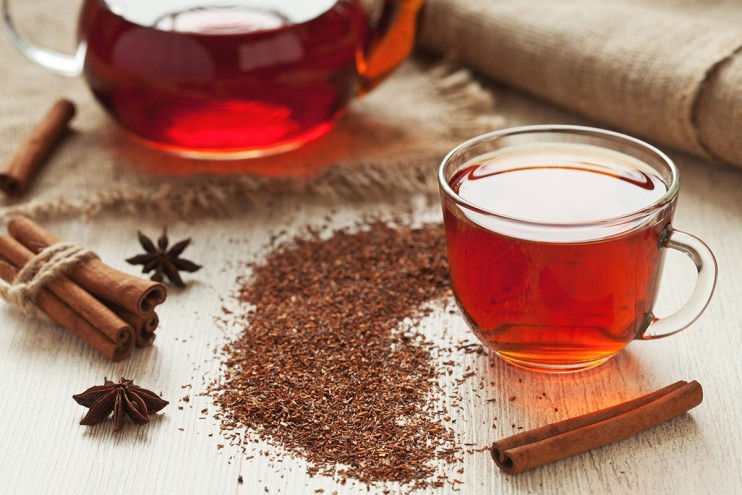
Parfois appelé à tort thé rouge, le rooibos n'a rien à voir avec le théier. Le thé séché est fabriqué à partir d'un buisson rouge africain qui pousse exclusivement dans une région d'Afrique… La suite ici…
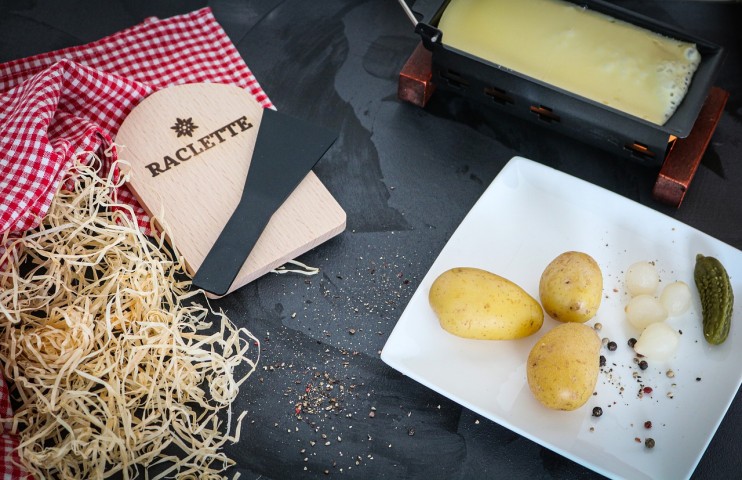
Fondre le fromage pour ensuite l'accompagner de viandes, charcuterie, légumes, en particulier des pommes de terre, c'est la base de la raclette. Et si les Suisses sont les premiers à en… La suite ici…

Déguster à une bonne tasse de café le matin est l'un des plaisirs que j'apprécie principalement dans ma maison. Entre les différents types de café, j'aime surtout le café percolé pour ses… La suite ici…
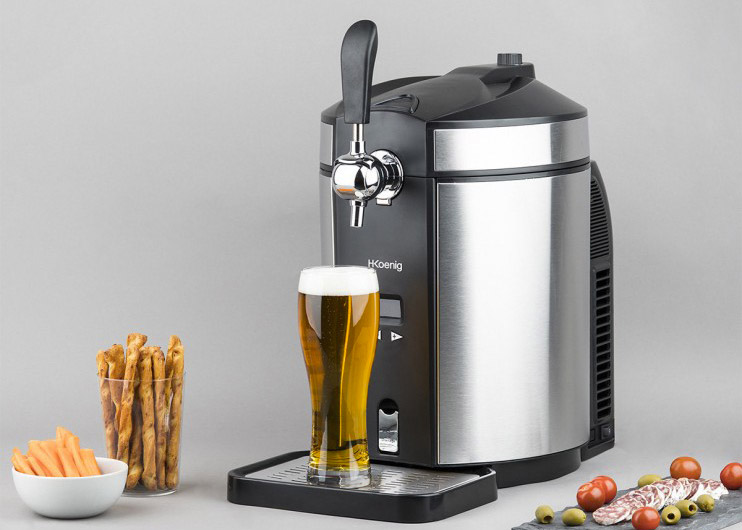
La marque H.Koenig se distingue bien avec les nombreux modèles de marque de pompe à bière qu'elle propose sur le marché. Cette fois-ci, je vous présente en détail les caractéristiques,… La suite ici…

L'extracteur de jus Omega VRT402 est un appareil dont je me sépare quasiment pas ! Depuis que je me suis offerte ce modèle, je prends plaisir à réaliser des jus de fruits et légumes maison.… La suite ici…
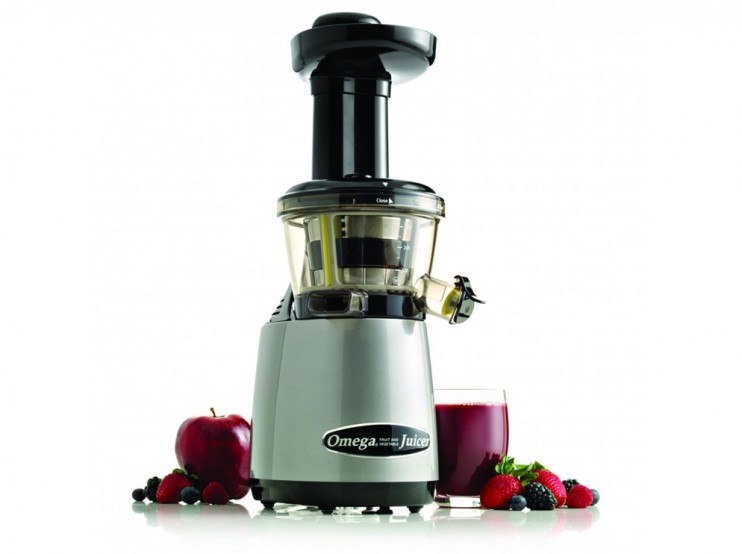
Après avoir testé l'extracteur de jus Omega VRT402 que j'ai commandé sur ce site : http://www.monsieurjus.com/tests-avis/omega-vertical.html, j'apporte mon avis pour vous aider à l'évaluer… La suite ici…
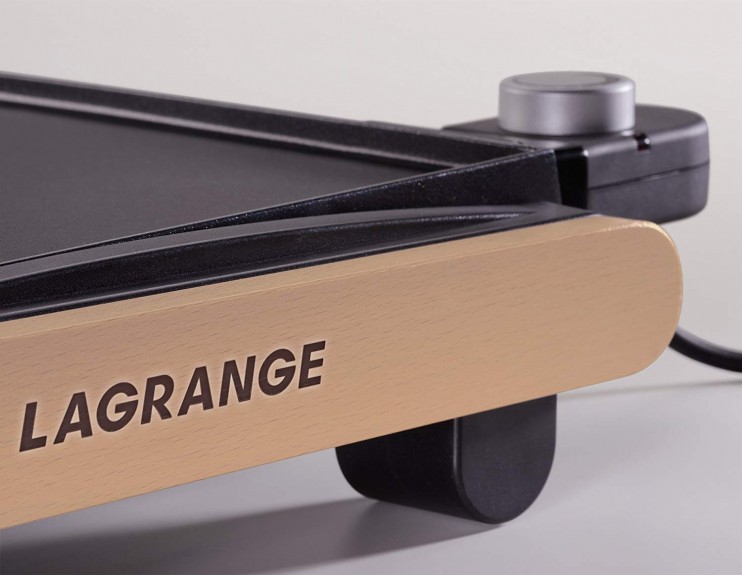
Quand vient l'été, tout ce que je veux c'est profiter au maximum de mon jardin. Et c'est possible grâce à cet appareil électroménager qui est aujourd'hui très prisé : la plancha de table.… La suite ici…

Vous ne connaissez pas le Gingerbread Latte de Starbucks Café?? Quoi ?? Je suis révoltée, hors de moi, je ne peux plus me contrôler… Ahhhhhh !! Bon d'accord, moi non plus il y a deux semaines,… La suite ici…
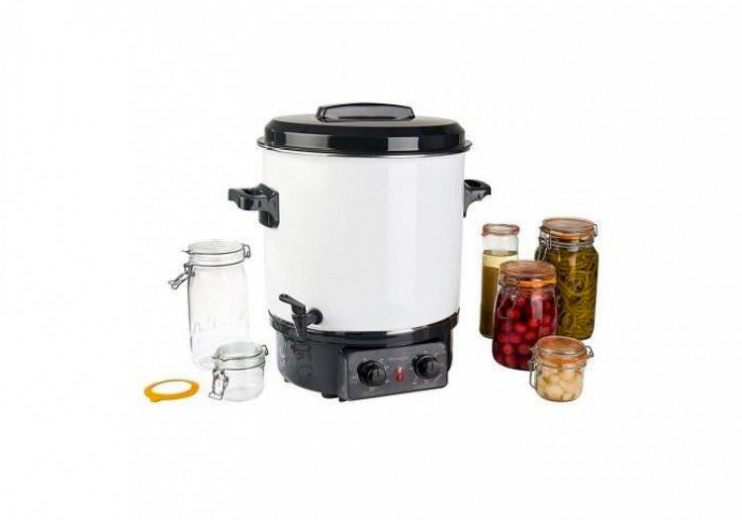
Le stérilisateur électrique est un appareil moderne et performant. Il s'agit d'un accessoire de cuisine indispensable pour la conserve de vos aliments en bocaux. C'est pourquoi, vous devez… La suite ici…
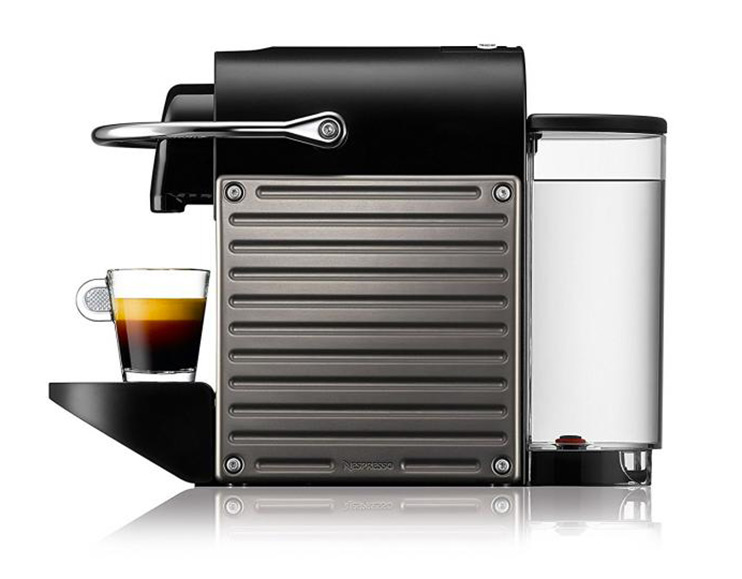
Depuis que je consomme du café, je ne me suis jamais séparée d'une cafetière Nespresso. Le café et moi, c'est une histoire de complicité et j'ai même dû changer de machine afin de profiter… La suite ici…
Pour toutes les femmes qui n'ont pas encore cette machine, je recommande vivement de s'en offrir une, et vite. Cet appareil a carrément changé ma vision de la cuisine. Autrefois, j'avais… La suite ici…
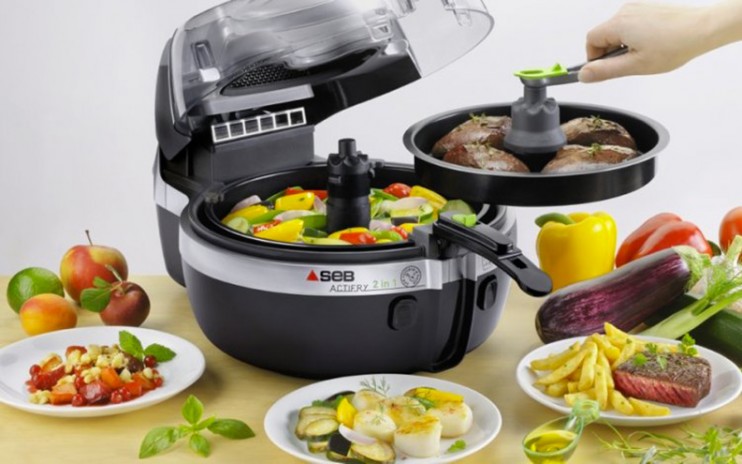
Vos amies n'arrêtent pas de vous parler de cette nouvelle friteuse sans huile qu'elles viennent d'acheter. Seulement elles n'ont pas toute choisi la même et elles semblent toutes posséder… La suite ici…
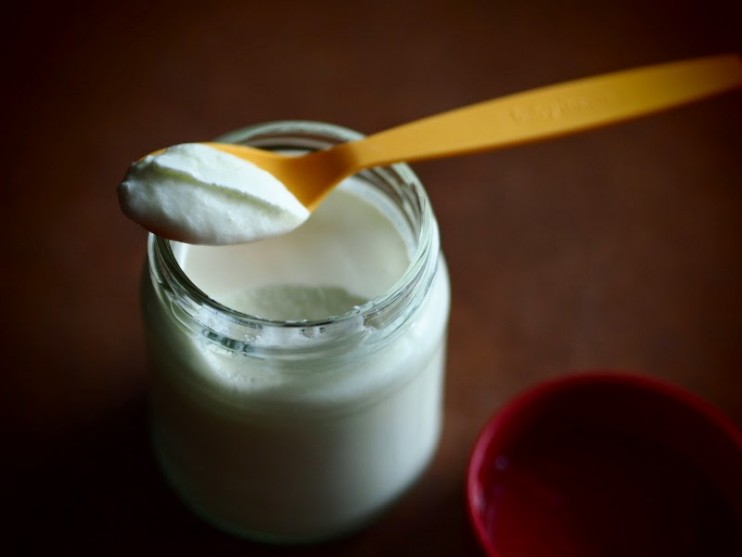
Vous voulez faire des yaourts maisons mais vous ne savez pas comment faire.Et bien, c'est très simple, soit vous optez pour une recette avec yaourtière soit une recette sans yaourtière.Voici… La suite ici…
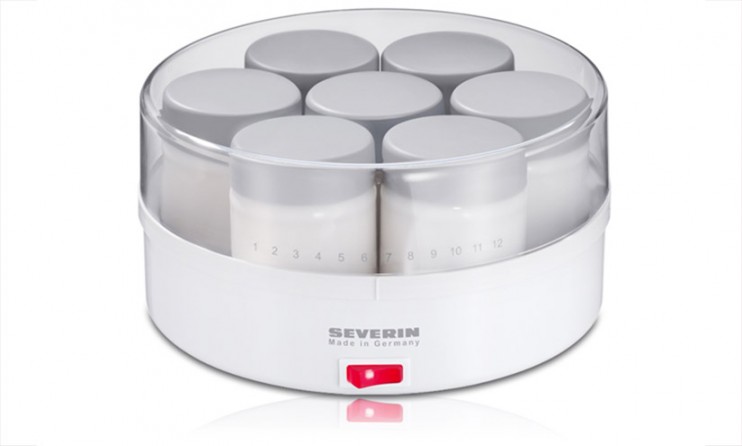
La marque Severin propose un yaourtière sans fioritures qui vous permettra de confectionner de succulents yaourts maison. Le modèle 3516 760, est une yaourtière qui connait un grand succès… La suite ici…
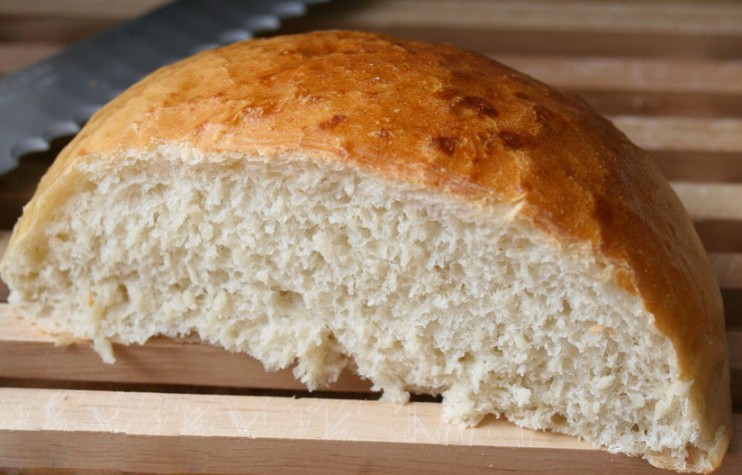
Dernièrement je vous parlais de la machine à pain Russell Hobbs (appareil que je recommande au passage si vous souhaitez faire des pains maison) et aujourd'hui je voulais vous proposer… La suite ici…
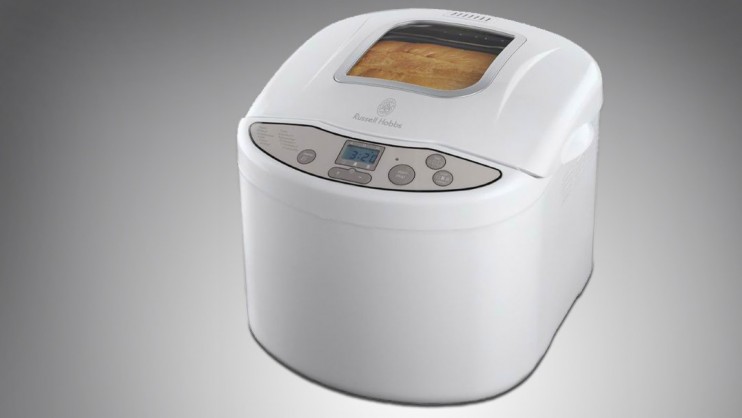
Je ne cesse de vanter les fonctions remarquables de la machine à pain. La cuisine est devenue beaucoup plus facile pour moi. Je n'ai plus à me creuser la tête pour trouver une idée de gouter… La suite ici…